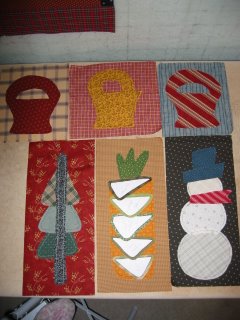
 Here are the blocks I prepped for "Its A Wonderful Life" - Jan Patek's 2005-2006 Girl Gang quilt. It's a typical Jan Patek quilt - lots of different sized blocks and a lot of appliqué. I'm doing this one totally from stash. I'm sticking to her basic color scheme, but changing it a bit. Hers goes from light to dark from the top of the quilt to the bottom - the picture isn't the best - but mine is going to be more even in color value.
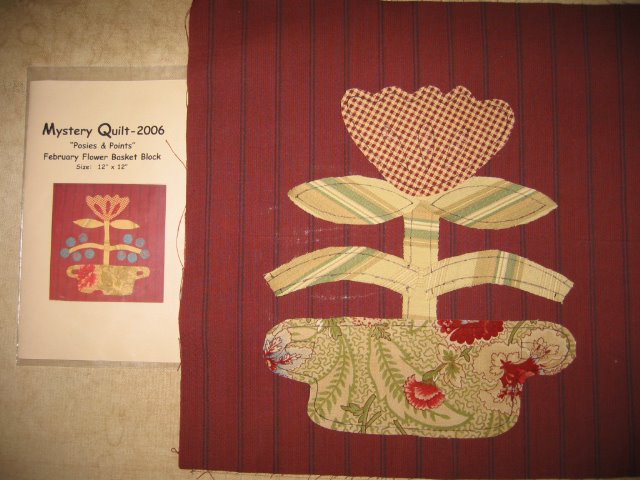 This is the second block of the Jan Patek and Cherie Ralston 2006 mystery quilt. I really like the reverse appliqué on the flower blossom. The other piece of fabric is there under the flower fabric - it will show when I do the appliqué.
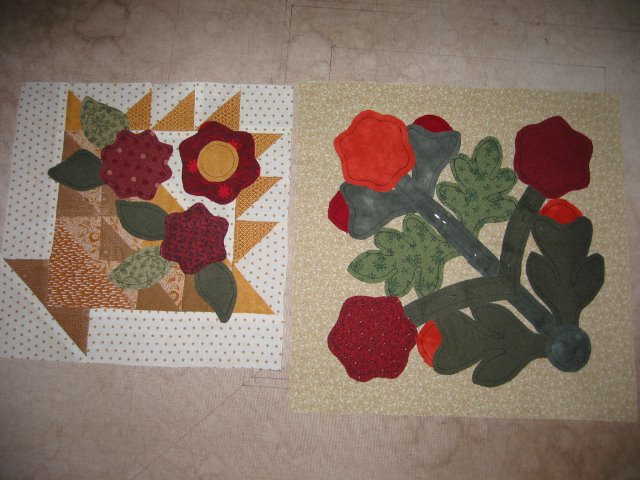
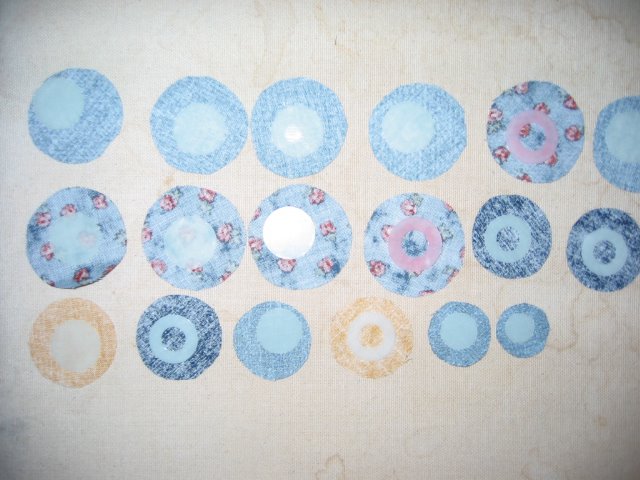
Here are the blue berries and all the flower centers for the next block. I like to use the mylar circle method. I run a gathering stitch around the outside of each fabric circle. I pull the gathering thread tightly, encasing the mylar circle inside. This makes a very smooth circle. I spray them well with fabric sizing, then press until dry. Once they are cool I release the basting stitches and take out the mylar circle. Works like a charm - perfect berries and flower centers!
 Here are the next two blocks for Heirloom stitches. The flower centers go on these two blocks. I've had the basket block pieced since last weekend, but am just now getting to the appliqué preparation.
 Finally I thought I'd show you the eagle block. The banner is finished. I had to rip out about 6 applique stitches to change the placement - took about 10 seconds. Seems like it took forever to place the three parts just right - especially the part in the eagle's mouth, and get it stitched down "just so" with tiny stitches. I heaved a big sigh of relief when that was over. Doing the rest of the appliqué will seem like a "piece of cake" after than part!
3 comments:
Really, really nice! Thank you for sharing the progress, I am looking forward to seing your qiult finished.
oooooo - I love that second block for the mystery quilt - no dawn, no.... you don't need anohther one.... no, no, no.....
Which applique method do you use? (I thought I saw freezer paper, but then I saw lines drawn onto fabric....)
Post a Comment