
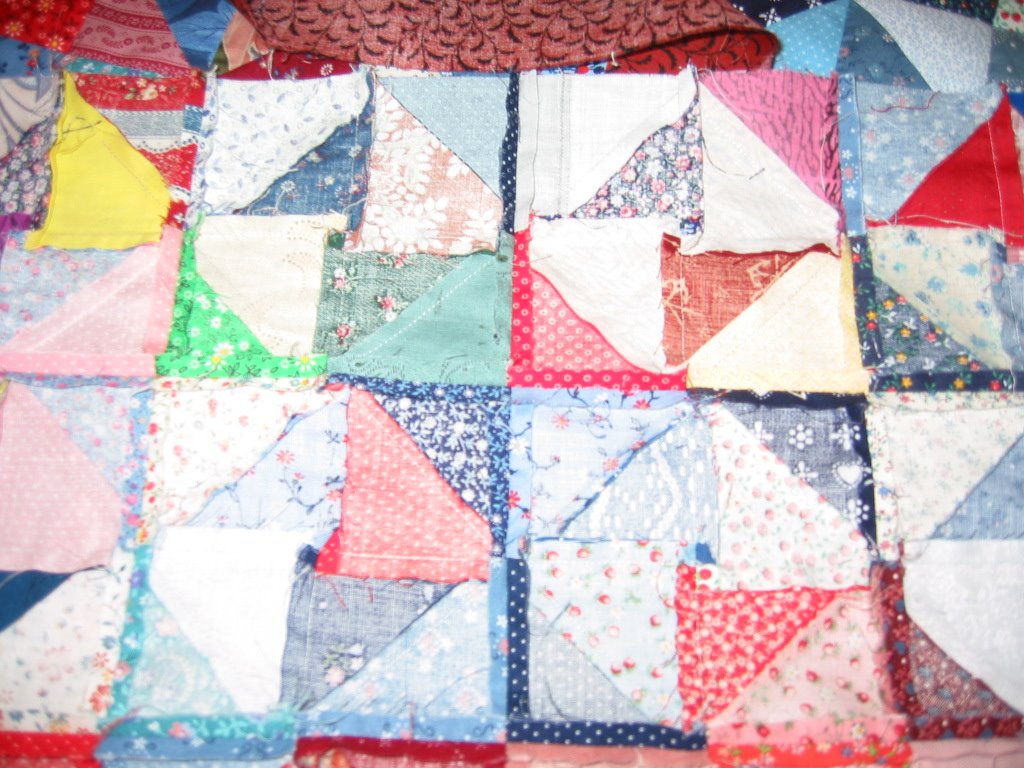
 Melanie from Covered Porches and Screen doors wanted me to talk about pressing and how I got my tops so flat. When I downloaded the photos from the camera this morning I discovered the one of the wrong side of the quilt wasn't as bad as I thought it was. Granted it's very light, but it still shows what I want it to show.
One thing to keep in mind while you are reading - I use some speed piecing methods when it seems appropriate, but usually I feel that speed isn't all that important. I enjoy the process of piecing a lot, and don't mind when it doesn't result in a finished top in a day. So the techniques I use may seem time consuming and finicky to some, but they work for me.
I have one rule that I never break - and I mean never. I never sew another seam across an existing seam until the first seam is pressed. I use lots of steam when I press. I know many people don't use steam because they think it can distort the block. It's not the steam that distorts the block - it's the way people press. Pressing means an "up and down" motion with the iron. That's "up" above the block, then "down" onto the block. It's the side to side motion of "ironing" that will distort the block. Especially bias edges. I never use the back and forth and side to side motion of ironing until the entire top is completed.
Another thing I like to do is press the bias triangle seams before the piece is cut to the final size. Several posts ago I showed how I make a lot of bias squares by stitching long bias strips together, pressing the seams to the side and then cutting the squares. If I'm doing a few then I cut the triangles extra large, press the seams, then trim them to size. Yes that takes quite a bit longer - but I can trim while I watch TV. The perfectly sized bias squares sew together as easy as can be - much more quickly than they would if the edges bowed a little as they often can from pressing after stitching
Still another thing I do is "pop" seams open. I learned this trick in a class taught by Linda Ballard. You can see the popped seams in the picture above at the center of each Broken Dishes block. After stitching the 4 half-square triangle squares together I hold them where all the corners meet and give the seam a little twist with my fingers. This pops the stitching in the first two seams apart. This way I can press the dark to the dark on each side of the block, and what looks like a tiny 4-patch is pressed open at the center of the block. This distributes the bulk beautifully.
I also press seams open whenever necessary to reduce bulk. When stitching triangles together that result in a bias square of 1 1/2" unfinished size or smaller I always press those seams open. Marsha McCloskey recommends this in her Feathered Star book, and I find it works well. I also press long seams open when pressing to one side would create a lot of bulk. As you can see above, in the Broken Dishes quilt that means all the long seams are pressed open, as well as the seams where the blocks are joined together to make a row. I use lots and lots of steam, so they stay open well. I never have a problem with the seams popping on a finished quilt - the reason some "experts" say not to press seams open - because I put lots and lots of quilting in my quilts.
Another thing I do is to clip the seam allowance on a block so I can change the direction the seam is pressed to the side. I very rarely quilt in the ditch, so I don't worry that the "ditch" zigzags along a seam when the pressing changes direction. To me the most important thing is doing whatever is necessary to reduce the bulk so the pieced top will lay flat. I learned this little trick in a class with Jo Morton. She shows this in all her books.
Lastly, if I've pieced a complicated block with lots and lots of separate pieces, I usually block it before I sew it to other blocks. I've drawn a set of concentric squares on my ironing board pad (with a permanent Sharpie) that are the unfinished sizes of most all the blocks I make. To "block" a block I will pin the block wrong side up in the appropriate size square, using lots of pins along each edge to stretch it (or shrink it) to exactly the right size. I put the pins as parallel to the board surface as I can so they don't get in the way of the iron. Then I spray the pinned block with water and press it with my iron on the highest setting. This is most definitely a "set the iron down, wait a moment, lift it up and set it down again" process - NO sliding the iron back and forth. I press it until it's dry, then let it cool before I take the pins out. Blocks that are a little bit on the small or large size can be blocked so they are of a uniform size and exactly the size they are supposed to be. Makes stitching them together into the top really easy.
I hopes this helps Melanie. There are certainly many ways to do things, and none of them are "right" or "wrong". This is just the way I do it, and it works well for me.
Now that I've written this I see where more pictures would have been really helpful. But since I'm writing this while I take a break at work more pictures will have to wait.

14 comments:
You described what you do perfectly even without the pictures, Patti though for the uninitiated it it would help, I'm sure.
I do all those things except block it when done. Must be doing something right, LOL.
Working to get a flat top is well worth it. I took a couple of courses at Quilt univeristy to improve my pressing, and boy what a difference! Glad you've found a method that works for you :-)
great instructions - I like to use steam when I press too - I haven't had a problem with distortion but if I don't press well, I do have a problem with my top not lying flat
All I can say is wow! I am self taught - I am also sure if I took a class and learned all of that as "the" way to do it, I would probably not be a quilter.... :o) That sounds too much like work. :o)
With all of that said, I appreciate the explaination.
Great directions on pressing. I am currently blocking a whole quilt. There's a photo on my blog. /paula
You do alot of the things that I do. I ALWAYS press clockwise or counter clockwise ont he back. It makes the cutest little 4 patches and pinwheels!
More stream the better. Love it! I press well and always press before I open the seam to press it open. I never thought to clip the seam allowance though, I wa sworried to, but witht the seam line it shoudl be protected. I might try that on some of mine current blocks. There's one place that has too much bulk for my taste!'
Thanks!
Patti - your broken dishes top looks wonderful - the two solid colours in the inner borders and their friends in the outer borders are just perfect - lovely :o)
LOve the quilt. I can hardly wait to see it quilted. You did such a good job. Thanks for sharing the pressing tips.
Thanks- Everything you wrote made lots of sense. Like you say...the extra effort makes a difference.
Thanks -
Melanie
Your quilt from your last post is gorgeous and all from left over pieces. Well Done.
Thanks for taking the time to share the details of your pressing. I picked up several tips that should make my blocks look that much better.
What a great tutorial on pressing, Thanks!
Great directions. Thanks for sharing your expertise.
Thanks for all those tips. Having a nice, flat top is worth all the effort.
Judy L.
Post a Comment